Introduction
For most of my hobby projects I use DigitalOcean’s Droplets, which are scalable virtual private server (VPS) that you can use to host your own applications and services.
They’re easy to spin up either for testing or production and are relatively cheap.
But if you’re planning to use them for more than just testing you should take some basic steps to secure your server.
Note: any links on this page for DigitalOcean are affiliate links and will give you $200 free credit for the first 2 months.
The main steps
These are the main steps I take to secure a DigitalOcean Droplet:
- Disable password login and only connect via SSH key.
- Make sure the Operating System is up to date.
- Ensure you have a firewall setup.
- Install Fail2Ban to block brute force attacks.
Let’s break down each step:
1. Connect via SSH key
By default SSH allows password logins, which is a security risk.
To disable password logins and only allow SSH key logins, first generate a new SSH key:
ssh-keygen -t ed25519 -C "your_email@example.com"
Next copy the public key:
cat ~/.ssh/id_ed25519.pub
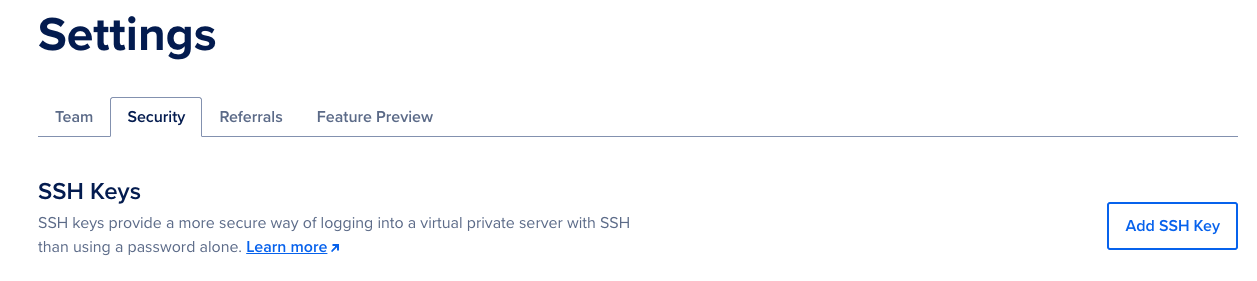
And create a new SSH key in DigitalOcean > Settings > Security > Add SSH Key:
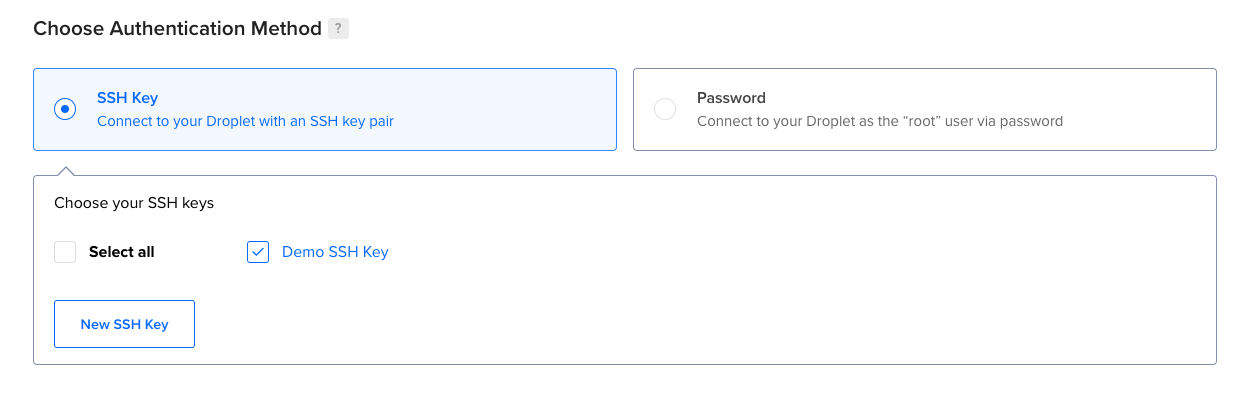
Now when you create a droplet you can choose that SSH key:
Once the droplet is created copy the IP address and log in:
ssh root@droplet_ip_address
Disabling password logins
Once you’re connected you can disable password logins, first edit the SSH config file using nano or vim:
sudo nano /etc/ssh/sshd_config
Make sure the PasswordAuthentication line is not commented out and change it to no:
PasswordAuthentication no
Save the file and restart the SSH service:
sudo systemctl restart ssh
2. Update the OS
To update the OS simply SSH into your Droplet and run the following (assuming you’re using Ubuntu):
sudo apt update && sudo apt upgrade
This is the easiest step but also one you’ll have to do regulary to ensure your server is up to date.
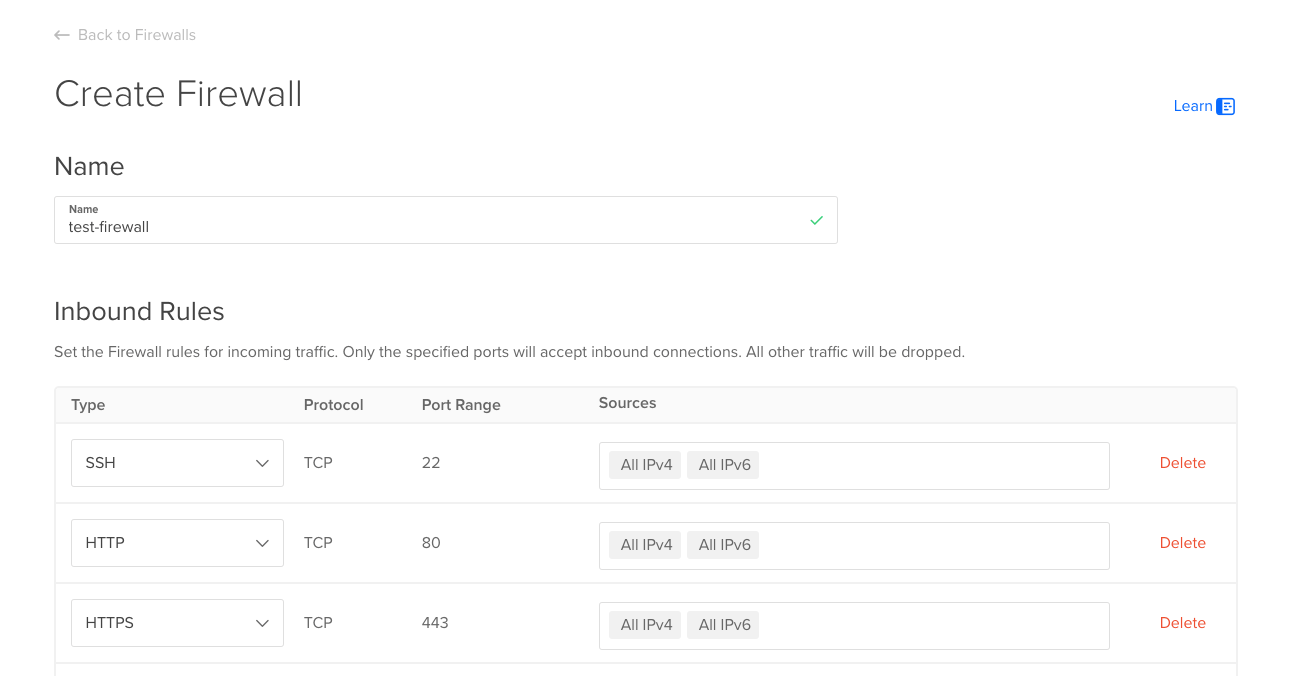
3. Setup a firewall
For the firewall you could set up UFW (Uncomplicated Firewall) however DigitalOcean have a Cloud Firewall with a GUI you can use instead.
First create a new firewall with the rules you need, for example allowing only connections via SSH, HTTP and HTTPS:
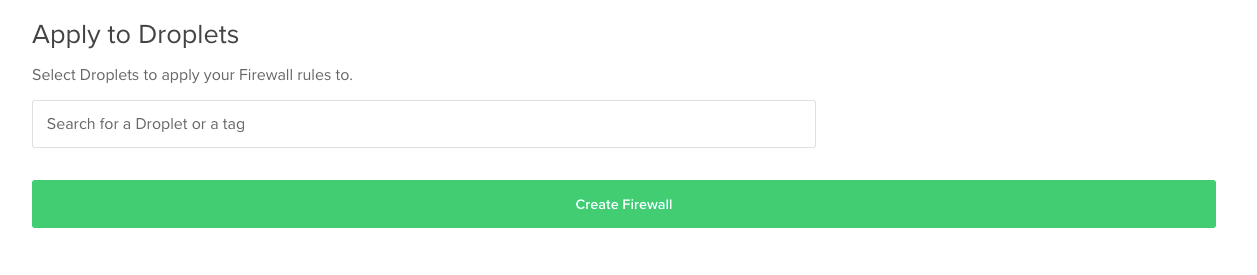
And then add it to your droplet:
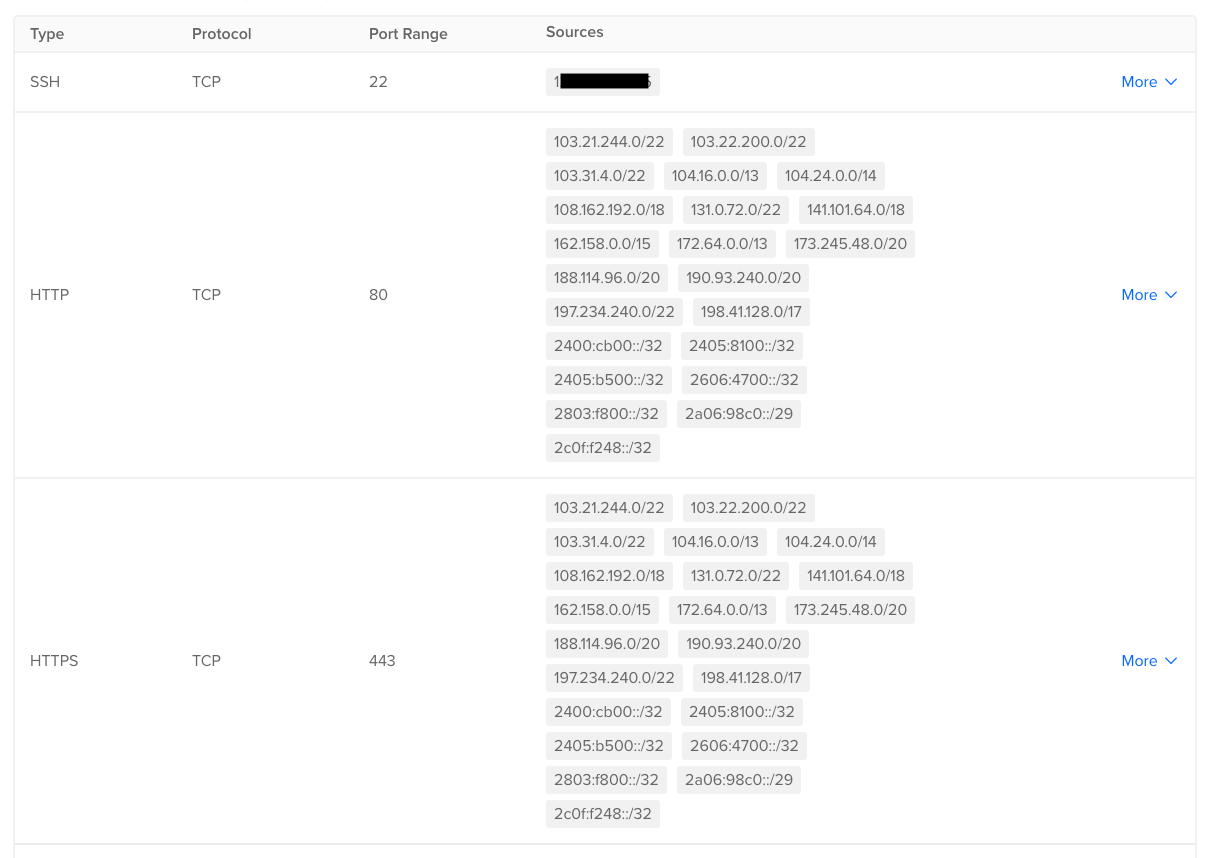
Restricting access to certain IPs only
To further increase the firewall security I do the following once my domain(s) and TLS certificates are set up:
- Only allow SSH connections from my IP.
- Since I usually route my traffic through Cloudflare restrict HTTP & HTTPS access to Cloudflare IP ranges.
After these changes my firewall rules will look like this:
4. Install Fail2Ban
Fail2Ban is a tool that monitors your server for failed login attempts and blocks the IP address for a set amount of time.
To install it:
sudo apt install fail2ban
To ensure it’s running type systemctl status fail2ban.service and it should say “active (running)”:
● fail2ban.service - Fail2Ban Service
     Loaded: loaded (/usr/lib/systemd/system/fail2ban.service; enabled; preset: enabled)
     Active: active (running) since Sat 2025-03-01 10:27:41 UTC; 1min 41s ago
Final step
After installing the above you may see the message:
*** System restart required ***
If you do then reboot your server and you should be good to go:
sudo reboot
Conclusion
Note that this is not a comprehensive guide to securing your server. However these are a few easy steps anyone can take when spinning up a new Droplet.